How to Clean Whirlpool Washing Machine
If you are searching for a simple and practical guide on How to Clean Whirlpool Washing Machine, this article explains everything in easy language. Regular cleaning keeps your washer fresh, odor-free, and long-lasting. Many people worry about black mold, detergent buildup, or bad smell inside the drum.
In this guide on How to Clean Whirlpool Washing Machine, we cover powder compartment cleaning, gasket mold removal, dispenser cleaning, agitator care, and maintenance tips based only on the content provided. Cleaning your washer regularly prevents bacteria growth and improves washing performance.
Why Cleaning Is Important
Understanding How to Clean Whirlpool Washing Machine is important because moisture, detergent residue, and lint can build up over time. Mold usually grows on the rubber gasket, especially in front load machines, due to trapped moisture.
If the washer door is always closed after use, mildew may develop and cause unpleasant odor. Hard water deposits may also form inside the drum. Regular inspection of gasket folds and detergent trays helps prevent long-term damage.
Gaskets are durable, but cracks or splits can appear over time. Checking them occasionally prevents water leakage and costly repairs. Keeping the washer clean ensures better hygiene and longer machine life.
Step 1: Cleaning the Drum (Empty Cycle Method)
One simple method for How to Clean Whirlpool Washing Machine is running an empty hot cycle.
Method:
- Put washing machine cleaner in the powder compartment.
- Run an empty hot water cycle.
- Repeat if necessary.
Another method:
- Mix 1 cup (250 mL) chlorine bleach with 2 cups (500 mL) detergent.
- Pour into washer.
- Run a complete hot cycle.
- Repeat if needed.
For front load washers:
- Add 1 tablespoon citric acid diluted in ¼ cup warm water into detergent dispenser.
- Run a hot empty cycle.
This helps remove bacteria, detergent buildup, and odor.
Step 2: Cleaning Black Mold on Gasket
Black mold on the rubber gasket is common. It is difficult to remove completely but can be reduced.
Method:
- Use diluted bleach solution with a nylon pad.
- Repeat cleaning with slightly stronger solution if required.
- Use anti-bacterial cleaner and clean all folds carefully.
- Let solution soak for better results.
- Wipe with cloth containing small amount of bleach.
- Peroxide can also be used to remove mold and mildew.
Important prevention tips:
- Keep washer door slightly open after each cycle.
- Pull back gasket folds and check for mildew and lint.
- Dry gasket after every wash.
- Occasionally wipe with bleach solution.
Mold grows in wet environments, so air drying is very important.
Bonus Read: Best Whirlpool Washing Machine 7kg Review
Step 3: Cleaning Detergent and Softener Dispenser
Detergent and softener trays collect residue and bacteria.
Method:
- Remove detergent/softener tray.
- Use crevice brush to clean inside compartment.
- Wash tray under warm water.
- Wipe area with warm wet cloth.
- Reinsert properly after drying.
For fabric softener dispenser:
- Lift dispenser from agitator.
- Separate top and base.
- Rinse all parts under warm water.
- Reassemble carefully before reinstalling.
Important: Do not add detergent or bleach in softener compartment.
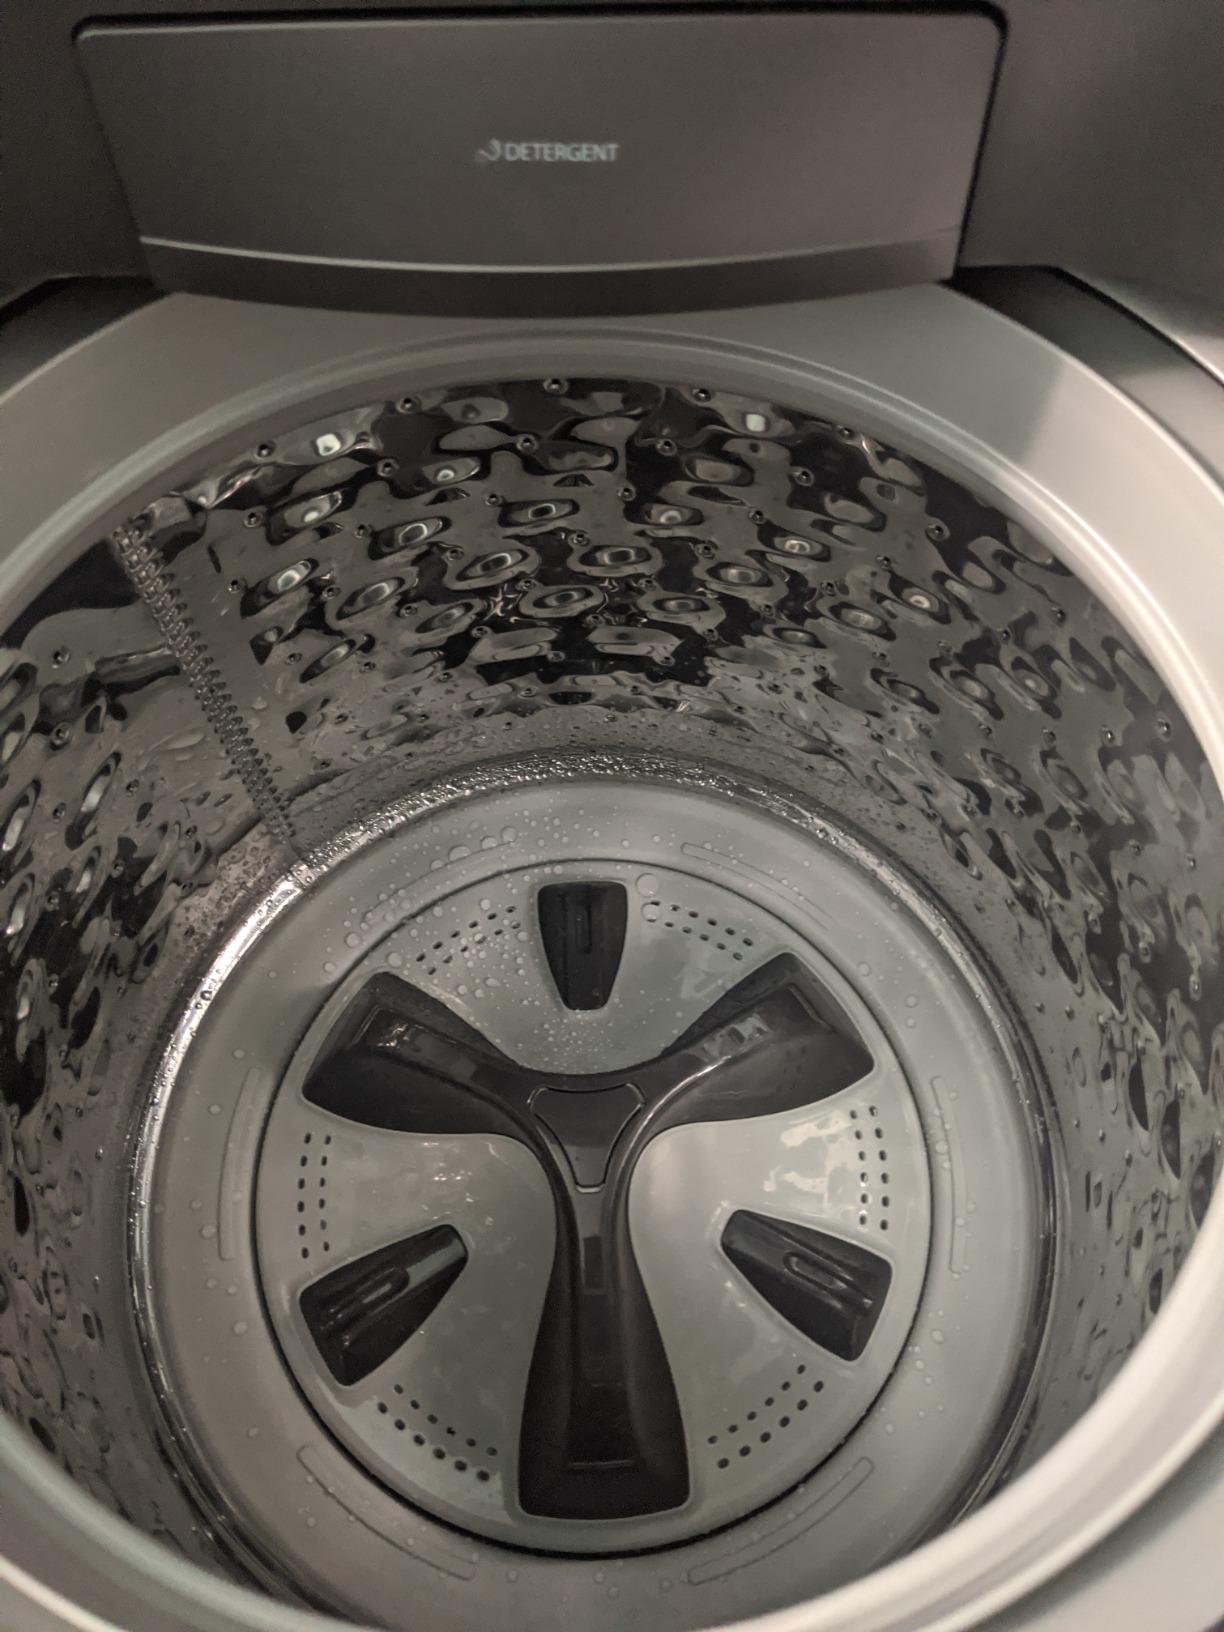
Step 4: Cleaning the Agitator (Top Load Machines)
Some top load machines allow agitator removal.
Method:
- Spray all-purpose cleaner (with bleach if needed).
- Let it sit for 10 minutes if dirty.
- Scrub using sturdy rag.
- Rinse with clean water.
- Run rinse cycle after cleaning.
Modern agitators are usually plastic and less rust-prone. Some models allow unscrewing for deep cleaning.
Step 5: Hard Water Deposits
If you notice white deposits:
- Use only cleaners labeled washer-safe.
- Hard Water Wash feature may help reduce buildup.
Pros of Regular Cleaning
- Removes bad odor
- Prevents mold and mildew
- Improves washing performance
- Extends gasket life
- Reduces bacteria growth
- Prevents leakage from cracked gasket
Cons of Not Cleaning
- Black mold buildup
- Unpleasant smell
- Water leakage from cracked gasket
- Poor detergent performance
- Bacteria growth in folds and tray
Comparison – Front Load vs Top Load Cleaning
| Area | Front Load | Top Load |
|---|---|---|
| Gasket Mold Risk | Higher | Lower |
| Door Air Dry Needed | Yes | Not always |
| Agitator Cleaning | Not applicable | Required sometimes |
| Tray Cleaning | Required | Required |
Front load machines need more gasket care. Top load machines need agitator inspection occasionally.
Customer Experience Insights
Some users say they never needed deep cleaning and simple soap and water worked fine. Others strongly recommend checking gasket folds regularly to avoid mildew smell.
People from India suggested using Patanjali vessel cleaning bar with soft scrubber to remove dirt before following regular maintenance steps.
Experienced users recommend running double rinse cycle after deep cleaning. Many also advise drying comforters carefully on low heat or air dry mode to prevent shrinkage.
Best Whirlpool Washing Machine 10kg fully Automatic
FAQ – How to Clean Whirlpool Washing Machine
1. How often should I clean my washing machine?
Run an empty hot cycle once a month for maintenance.
2. How to remove black mold from gasket?
Use diluted bleach solution or peroxide and scrub gently.
3. Should I keep the washer door open?
Yes, leave it slightly open to air dry and prevent mold.
4. Can I use regular cleaner?
Use washer-safe or anti-bacterial cleaner for safety.
5. Is gasket replacement necessary?
Replace only if cracks or splits appear and cause leakage.
Final Thoughts
Learning How to Clean Whirlpool Washing Machine is simple but important. Regular cleaning prevents odor, mold, and long-term damage. By running empty cycles, cleaning gasket folds, wiping dispensers, and allowing air drying, your washer can stay fresh and efficient for years.
Follow these steps consistently, and your washing machine will continue working smoothly without hygiene issues.


